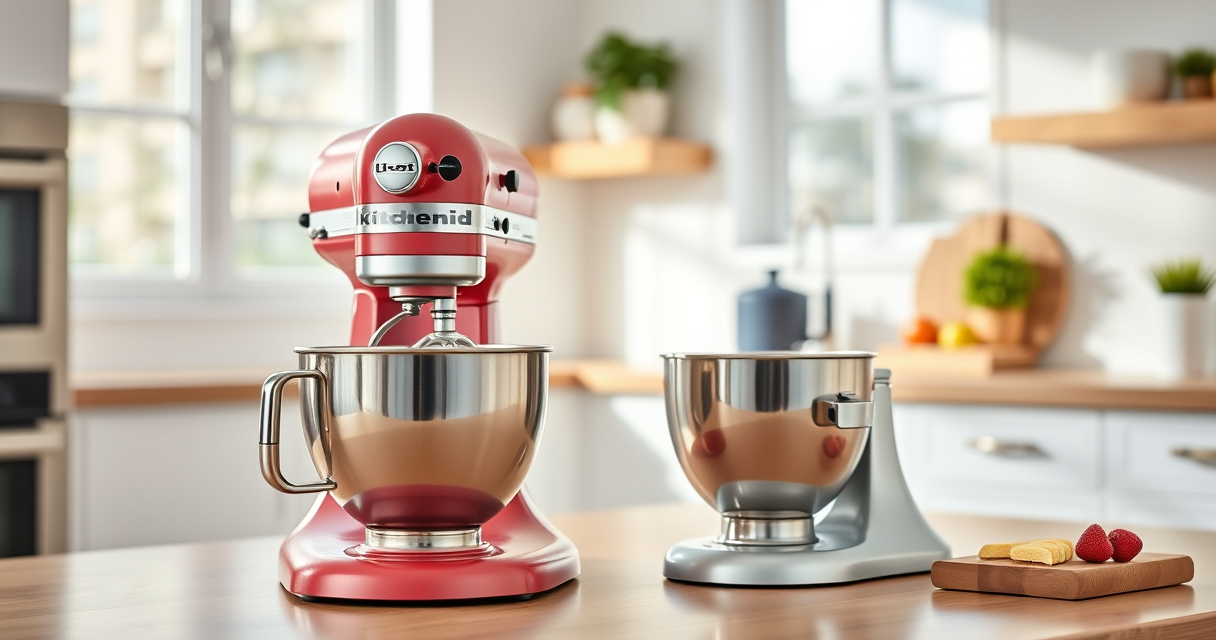

Getting your new KitchenAid Artisan Series 5 Quart Tilt Head Stand Mixer ready for use is simple but requires some initial setup to ensure safety, optimal performance, and longevity. Whether you’re a first-time owner or just need a refresher, this guide walks you through the essential steps to assemble, adjust, and troubleshoot your mixer effectively.

Get home appliances delivered free with Prime
- Fast, free delivery on millions of items
- Prime Video, Amazon Music and more included
- Member-only deals all year
By following these straightforward instructions, you’ll be able to start mixing with confidence, enjoying the powerful features and durable construction of your KitchenAid mixer from the very first use.
Key Takeaways
| Easy Assembly | Follow clear steps to assemble and adjust your mixer safely. |
| Proper Attachment Use | Learn how to connect and detach attachments correctly. |
| Routine Maintenance | Keep your mixer in top shape with basic cleaning tips. |
| Troubleshooting Tips | Identify and resolve common setup issues easily. |
Unpacking and Initial Inspection
- Carefully unpack your KitchenAid Artisan Mixer from its box, making sure all components are included: the mixer body, stainless steel bowl, pouring shield, and attachments if applicable.
- Inspect each part for any damage during transit. Check the tilt-head mechanism to ensure smooth movement.
- Read the user manual to familiarize yourself with the parts and safety instructions before proceeding.
Assembling the Mixer
- Place the mixer on a stable, flat surface near an electrical outlet.
- Lift the tilt-head lever to raise the head of the mixer, then align the bowl with the bowl hub and lower it into place until it clicks securely.
- Attach the flat beater, wire whip, or dough hook to the power hub, depending on your recipe. Ensure each attachment locks into place properly.
- Lower the tilt-head back into position and lock it securely by pressing down the tilt-head lever.
Connecting Attachments and Adjustments
- To attach optional accessories like the Food Grinder or Pasta Roller, align their connector with the power hub and twist until secure.
- Adjust the speed dial according to your task: start slow to prevent splatter, then increase speed as needed.
- Check that the tilt-head is locked in place before operation to avoid accidents.
Safety Tips and Troubleshooting
Always unplug the mixer before attaching or removing accessories. Do not operate the mixer without the bowl and attachments properly secured. If the mixer vibrates excessively or makes unusual noises, switch it off, unplug, and recheck the assembly.
If the tilt-head won’t lift or lock, ensure the lever is fully engaged and the head isn’t obstructed. For persistent issues, consult the troubleshooting section of your manual or contact customer support.
Routine Maintenance and Cleaning
- After each use, wipe down the mixer body with a damp cloth. Detach and wash the bowl and attachments with warm, soapy water. The stainless steel bowl is dishwasher safe for easy cleanup.
- Regularly inspect the power cord and plug for damage. Store attachments in their designated case to avoid misplacement.
- Keep the tilt-head mechanism lubricated if recommended by the manufacturer, and avoid harsh abrasives to preserve the finish.
The Products in This Guide

KitchenAid Artisan Series 5 Quart Tilt Head Stand Mixer
- ✔ Weight: 26 pounds
- ✔ Motor Power: 325 watts
- ✔ Bowl Material: Stainless steel

KitchenAid Stand Mixer Attachment
- ✔ Capacity: Multiple plates
- ✔ Material: Metal
- ✔ Includes: Storage case
KitchenAid Artisan Series 5 Quart Tilt Head Stand Mixer
The KitchenAid Artisan Series 5 Quart Tilt Head Stand Mixer is built to last with durable metal construction and offers excellent mixing performance with 59 touchpoints around the bowl. Its versatility makes it suitable for small or large batches, and the tilt-head design provides easy access for adding ingredients or changing attachments.
Pros:
- Sturdy metal construction
- Powerful 10-speed motor
- Easy tilt-head access
- Large 5-quart stainless steel bowl
- Wide color selection
Cons:
- Bulky for small kitchens
- Some attachments sold separately
- Can be heavy to move
Best for: Home bakers and cooks wanting a versatile, long-lasting mixer
Not ideal for: Small kitchens with limited counter space
Bottom line: A durable, versatile mixer perfect for a wide range of baking and cooking tasks.
KitchenAid Stand Mixer Attachment
The KitchenAid Metal Food Grinder attachment expands your mixer’s capabilities, allowing you to grind meats, vegetables, and more with ease. It connects seamlessly to the power hub, making food prep faster and more efficient.
Pros:
- Multiple grinding plates included
- Large food tray
- Stainless steel construction
- Easy to attach and use
Cons:
- Additional cost
- Requires cleaning after use
- Attachment sold separately
Best for: Making fresh ground meats and vegetables at home
Not ideal for: For users not interested in grinding or processing foods
Bottom line: Make your own fresh ground foods easily with this durable attachment.
Frequently Asked Questions
How do I attach accessories to my KitchenAid mixer?
Align the accessory with the power hub on the front of the mixer, then twist or lock into place as per the manufacturer’s instructions. Make sure the mixer is unplugged during attachment.
Can I use the mixer without the bowl attached?
No, for safety and proper operation, always ensure the bowl and attachments are securely in place before turning on the mixer.
What should I do if the tilt-head won’t lock in place?
Check for obstructions or debris in the hinge area, ensure the head is aligned properly, and that the lock lever is fully engaged. If problems persist, consult the manual or contact customer support.
How do I clean the attachments?
Most attachments like the bowl, beater, and whisk are dishwasher safe. Hand wash other parts with warm, soapy water and dry thoroughly.
How often should I lubricate or maintain my mixer?
Refer to the user manual for specific maintenance instructions. Typically, routine cleaning after each use and periodic inspection of moving parts are sufficient.
Getting the Most from Your KitchenAid Mixer
With proper setup and regular maintenance, your KitchenAid Artisan Series 5 Quart Tilt Head Stand Mixer will serve you well for years of baking and cooking adventures. Take the time to assemble it correctly, connect attachments securely, and keep it clean to ensure smooth operation and the best results every time.
Enjoy experimenting with different recipes and accessories to unlock the full potential of your mixer. Happy baking!
Affiliate disclosure: As an Amazon Associate we earn from qualifying purchases. Prices and availability are accurate as of the time of publishing.
Halloween Picks
halloween
As an affiliate, we earn on qualifying purchases.